At what temperature can you putty?
So, let’s answer the first question - what is the minimum temperature for plastering walls?
The first thing you need to look at is the packaging. However, not all manufacturers write the optimal temperature for puttying. Among professionals, it is believed that puttying cannot be done when the room temperature is below +5 degrees Celsius. And the most optimal temperature when you can start puttying is from +15 to +25 degrees Celsius.
Features of plasterboard putty for wallpaper
Many renovation specialists, when choosing a method of finishing walls, prefer plasterboard. Its advantages are ease of installation and the ability to quickly obtain a perfectly flat surface. After such preparation, the walls can be covered with wallpaper, and it is quite possible to do this yourself. But before this, be sure to putty the drywall under the wallpaper.
You can often come across the remark that the wallpaper was pasted directly onto the sheet without additional processing, and it holds up perfectly. Why then do you need putty? It is necessary for several reasons:
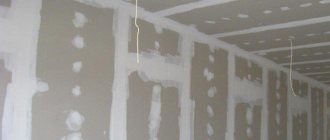
- to eliminate joints between individual sheets;
- helps hide the screw heads, protecting them from corrosion.
Over time, rust spots may appear at the locations of the fasteners on the wallpaper. In addition, it is necessary to take into account the structural features of the plasterboard sheet. It is a “sandwich” in which gypsum is located between sheets of cardboard. Wallpaper, when pasted without special preparation, is tightly connected to the paper. Therefore, having decided to replace them after some time, the craftsmen are faced with the fact that they will have to completely or partially change the base. When you try to remove the old coating, it will come off along with the cardboard, damaging the base.
Considering the possible consequences, it is recommended not to neglect preparatory work. They will make the surface of the walls perfectly smooth, the wallpaper will adhere tightly, and if necessary, it will be easy to remove it and paste new ones.
How to putty walls?
Before moving on to describing the procedure, we need to decide on the materials and tools that we will need during the work. So, it is advisable to purchase two spatulas - a large one and a small one made of stainless steel. Using two spatulas will make it easier to clean them and you will be able to use all the putty. You will also need paint, putty, primer and finishing putty.
Instructions for puttying walls:
1. Prepare the base of the wall. First of all, you need to carry out the preparatory work and clean all the walls from dust, paint, grease stains and residues from previous plaster. If the wall is frozen, you must first apply a primer in one layer and only then begin puttying.
2. The wall is ready, now we move on to preparing the putty mixture.
To do this, take the dry mixture and mix it with water. Next, mix all this with a mixer. As mentioned above, the optimal room temperature for puttying should be from 15 to 25 degrees Celsius. Before applying the finished mixture to the surface of the wall, it must be moistened.
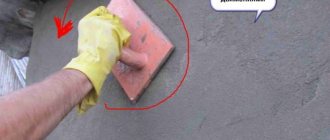
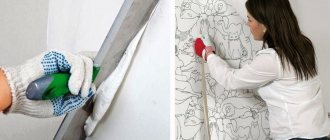
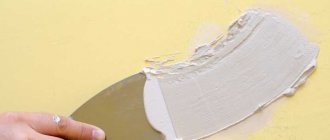
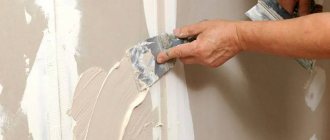
3. We begin to putty the walls. To begin with, if there are uneven spots or holes on the wall, you need to cover them with a small spatula and wait for the putty to dry. Next, you can pick up a large spatula and carefully apply the putty in a thin layer, thereby smoothly leveling the entire wall. One layer should not exceed 1.5 millimeters. If you need to straighten a corner, you can use an angle putty knife.
When the entire surface is dry, it can be wallpapered or painted.
Tips for puttying walls:
— To ensure that you get a thin layer of putty when applying it, hold the spatula at an angle of 80 degrees. — When the job is finished, rinse all tools with warm water. Never pour water into the toilet or bathtub. Otherwise, you will have to think about cleaning and replacing the pipes when the remaining putty sets. — Try to apply the putty in an even layer. Later, when you glue wallpaper, a straight wall will look much nicer than a crooked one
